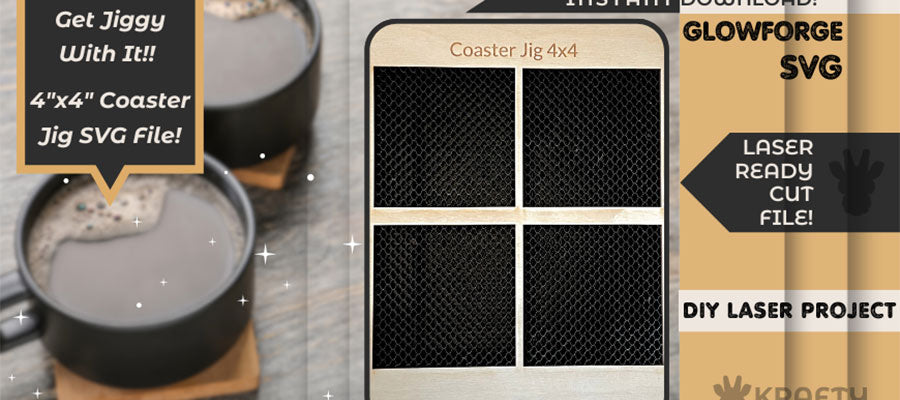

Ever wished creating custom coasters was easier and less time-consuming? Well, fret no more, DIY enthusiast! Today, we're conquering coaster creation with a fun and functional project: a 4”x4” laser-cut coaster jig.
This project is perfect for anyone with a Glowforge (or similar laser cutter) and a passion for handmade coasters. It's a fantastic introduction to laser cutting and uses minimal materials, making it ideal for beginners!
Gather Your Supplies:
- Glowforge (or other laser cutter): This is your tool for creating the coaster jig.
- Free 4"x4" Coaster Jig SVG File: We'll provide some tips on finding this file in a moment.
- Material: Wood (⅛" thickness is recommended, Baltic birch plywood suggested).
- Paint or stain (optional): Spruce up your jig with some color!
Let's Get Krafting!
- 1. Download the Free SVG File (Instant Download): To find it, search our website for SVG Files & Free Laser Files. Here you will locate our free 4”x4” coaster jig file. Simply add the 4”x4” coaster jig listing to your cart and proceed to checkout (at no cost to you). You will receive the download instantly!
- 2. Prepare Your Material: Use a full sheet of ⅛” wood (preferably the standard full sheet 12”x20”) or slightly larger than the final dimensions of this jig.
- 3. Time to Laser! Upload the free coaster jig SVG file to your Glowforge software. Place your board onto the honeycomb tray and slide it down towards the bottom of the tray until it is flush against the front door of the glowforge.Then slide your board to the very left of the honeycomb tray until the board stops at the left border of the crumb tray and can move no farther (and still flush against the front door). See Diagram Below:

- Now make sure to group the entire downloaded jig design and place it where you want it to cut/engrave on the piece of wood. Choose simple coordinates (the ruler icon at the bottom left X,Y) and remember these numbers as you will need it when you return to use the jig. (We chose X:9”, Y:6”) (These correspond to the center of the design once grouped). Adjust the settings to where the inner squares are ignored. These dashed lines simply help you align your coaster design while using the jig for your project! Now proceed to cut the outer squares and engrave your 4x4 jig coaster title (engrave your coordinates for future use if desired).
- 4. Assemble and Personalize (Optional): Once your Glowforge finishes the cutting/engraving, gently remove the jig from the laser bed. You can now paint or stain your jig for an extra touch of personalization.
Using Your Coaster Jig: With your coaster jig complete, creating custom coasters becomes a breeze! Simply place your jig back onto the honeycomb tray as you did before (against the front door and all the way to the left-refer back to diagram). Be sure to place the jig design back into your coordinates that you chose earlier. You will change the settings to ignore all parts of the jig since now this will just be a guideline to ensure your coasters are in the right place! Now place your coaster blanks (wood, slate, etc.) into the designated slots of the jig. Upload your designs and place within the dashed squares. You are now ready to engrave/cut your coasters!
Get Jiggy with Your Creativity! The coaster jig opens doors to a world of creative coaster possibilities. You can use different types of wood, experiment with paint or stain colors, and create unique coaster designs using your laser cutter. So, unleash your inner coaster Krafter side and enjoy the satisfaction of creating beautiful and functional coasters with ease!
Get More Glowforge Inspiration
Love this project? Browse our shop for even more awesome designs. Browse Here.
Haven’t purchased a glowforge yet? Get $500 off a Glowforge Pro, $250 off a Plus, or a $50 gift card with Glowforge Aura. Simply click the link below!

